


Big O
-
Posts
3,860 -
Joined
-
Last visited
-
Days Won
1
Content Type
Profiles
Forums
Events
Gallery
Store
Posts posted by Big O
-
-
-
good thing I am using the laptop ... way easier to turn the laptop on the side rather than lay down on my desk to view the pics properly

Sweet setup man.
-
lots pf megapixels and a lot of new technology. good score man, have fun with it/
-
fun camera

-
use the turn screws ....
here's a copy from the internet
Headlamp Aiming
The adjusting screws control the horizontal and the vertical aiming of each headlamp assembly.
Both adjusting screws are in the radiator support. The location is not readily visible.
The 2 holes in the radiator support for each headlamp assembly provide access to the recessed adjusting screws. Using a T15 TORX� head bit, turn the screws.
The Chevrolet headlamp adjustment numbers can be located on the lens at the bottom corner of the headlamp where the amber turn signal meets the headlamp.
The GMC headlamp adjustment numbers can be located at the upper corner of the headlamp where the amber turn signal meets the headlamp.
Verify these specifications with those required by the state and/or the local authorities.
Below are 3 methods for aiming the headlamps.
Visual Headlamp Aiming Procedure All equipment for testing the headlamps must comply with the SAE Recommended Practice for Headlamp Inspection Equipment.
If you use a headlamp testing machine, ensure the machine gives results equivalent to the those obtained using the screen procedure described below. Ensure the machine is in good repair. Verify the machine is in adjustment. Use the machine in accordance with the manufacturer's instructions. The machine using a photoelectric cell or cells in determining aim should also include a visual screen. Project the beam pattern upon the screen in proportion to the pattern's appearance and aim at 7.62 m (25 ft). The screen should be visible to the technician adjusting the headlamps. The screen should have horizontal and vertical reference lines that permit visual appraisal of the headlamp beam.
Headlamp Aiming Using the Screen Method
Location The area should be darkened and large enough for the vehicle and an additional 7.63 m (25 ft) measured from the face of the headlamps to the front of the screen. The floor on which the vehicle rests must be even with the bottom of the screen. Compensate for an uneven floor, if necessary.
Aiming Screen
If in use, the screen should be at least 1.52 m (5 ft) in height by 3.66 m (12 ft) in width. The finish should be matte white. Keep the surface well shaded from extraneous light. Keep the screen in proper adjustment with the floor. The screen should be moveable in order to keep the screen in alignment parallel with the rear axle of the vehicle. Position the screen so that a horizontal line (3) drawn perpendicular to the centerline of the screen passes an equal distance midway between the headlamps. Provide the screen with a vertical centerline (4), 2 laterally adjustable vertical tapes (2), and one vertically adjustable horizontal tape (3). Provide the screen with a vertical centerline (4), 2 laterally adjustable vertical tapes (2), and one vertically adjustable horizontal tape (3). If a regular, commercial aiming screen is not available, the screen may consist of a wall having a clear, uninterrupted area of at least 1.83 m (6 ft) height by 3.66 m (25 ft) width. The surface should be finished with a washable, no-gloss white paint. After establishing the aiming screen, paint or tape a reference line (6) on the floor 7.62 m (25 ft) from the screen. Park the vehicle with the front of the headlamps directly over this reference line.
Headlamp Aiming Procedure
Park the vehicle square with the screen (1). Park the vehicle with the headlamps directly over the reference line (6). Ensure all of the components are in place, if work has been completed on the vehicle. Ensure the vehicle is on a level surface. Stop all of the other work on the vehicle. Ensure the vehicle has � tank of fuel or less. Close the vehicle's doors. Rock the sideways vehicle. Align the centerline of the vehicle with the centerline (4) of the aiming screen by completing the following steps: Mark the vertical center of the rear and the front windows with tape. Use these lines as sight lines in order to match the centerline of the vehicle with the screen. Adjust the vertical tapes (2) on the screen in order to match the vertical centerline of each low beam lamp. Measure the distance from the centerline of the vehicle to the centerline of a low beam lamp. Adjust the horizontal tapes (3) on the screen in order to match the horizontal centerline of each low beam lamp. Measure the height (5) from the floor to the center of a low beam. Illuminate the low beam lamps. Observe the left and top edges of the high intensity zone on the screen. Adjust the headlamps in order to accomplish the following results: - The top edge of the center of intensity on the screen for the low beam is less than 101.6 mm (4 in) above or below the cross section of the headlamp centerlines.
- The left edge of the center of intensity on the screen for the low beam is less than 101.6 mm (4 in) to the left or to the right of the cross section of the headlamp centerlines.
Headlamp Aiming Alternative Procedure
Tools Required J 25300-A Headlamp Aimer
Prepare the vehicle. Ensure all of the components are in place, if other work has been completed on the vehicle. Park the vehicle on a level surface. Stop all of the other work on the vehicle. Ensure the vehicle has 1/2 tank of fuel or less. Close the doors. Rock the sideways vehicle. Ensure the headlamps are not illuminated. Using the J 25300-A , adjust the headlamps to the specifications required by the state and/or local authorities. - Follow the instructions accompanying the tool for the use of the tool.
- The kit contains special adapters for use with the composite lenses.
-
Come on now ... you never watched old Popeye cartoons? It's what Popeye says
-
sweet pics! what kind of camera do you have? how many pictures did you use for your HDR photos? Thanks
I'm guessing a Canon 40d and 3 pictures per picture
-
haha ... I was looking at that too ... two guys wearing loafers and two guys wearing combat boots .. hahaha
-
Pretty dangerous place ... looks like you guys are pushing Steven Tyler (Aerosmith) off stages now? hahahah
-
lol .... one word .... AWESOME
-
+1 for paying and not worrying about the headache. Although it would make a routine traffic stop and little more exciting, like free adrenaline
-
+1 .... drives me insane.
-
HOLY CRAP!!!!!!!!!!.............................................shes hot! lol
hahahaha ... same thing I thought. I always turn off the sound when Beck comes one. What a treat.
-
-
In primer stage.


-
voted ... Good luck everyone
-
Very cool man, you got blessed with great weather. I wish we got to stay another couple days in the park when my kids and I were there; we only got to see the falls because it was raining.
Mr. P.
Yeah the rain came and went while we were there, got below freezing at night also. The weather was all over the place. We were very fortunate to spend a full week up there, we just sat out the weather and were able to find quite a few good days to explore.
Nice picsGracias
-
Some beautiful shots Tim. I'm hoping to go there next summer. Just me and the wife so I can spend some serious lens time. Love the shot of the cottage by the lake and the dead tree in the rocky area. You've really got an eye for composition. I shot a bunch of the old twisted trees on our trip to the Grand Canyon. Thought I was the only one that liked that kind of stuff. LOL Surprised to see Elk in velvet this time of year. The elk at the Canyon didn't even have their horns yet. Of course that was a couple months ago.
We should really check and see how many people would be up for a SSS get together in a place like that. I know I'd be there.
Man there is so many options for photography its not even funny, especially if you get into some of the 'twisted tree' type of shots haha. There are so many flowers and rocks and other things that we just blew by. If you have time and patience you will pull off some AMAZING shots in Yellowstone. There were a lot of options I couldn''t pursue due to preg wife and young child that would have made some good prints but in the big picture I would rather expose the boy and go back another day for me. If/when you go I wanna see the pics!
I think it would be a blast to have a GTG in a setting like this, you could get some sweet photo ops and have a good time inbetween, fires/drinks/buddies/great atmosphere ... doesn't get much better.
where can i order a few copies of those post cards, lol.... cant wait till i get the op to take my girls on a trip like that! once again, those pictures are beautiful!Thanks, make the trip when you can. Well worth the $/time
Absolutely stunning photos!Thanks man, it was a good time.
-
I have the 24-105 on my 5D II, and I am a tad disappointed with the lens. It has have some chromatic aberration, though it is easily corrected with Photoshop. But it does have a nice range of zoom without weighing a ton.
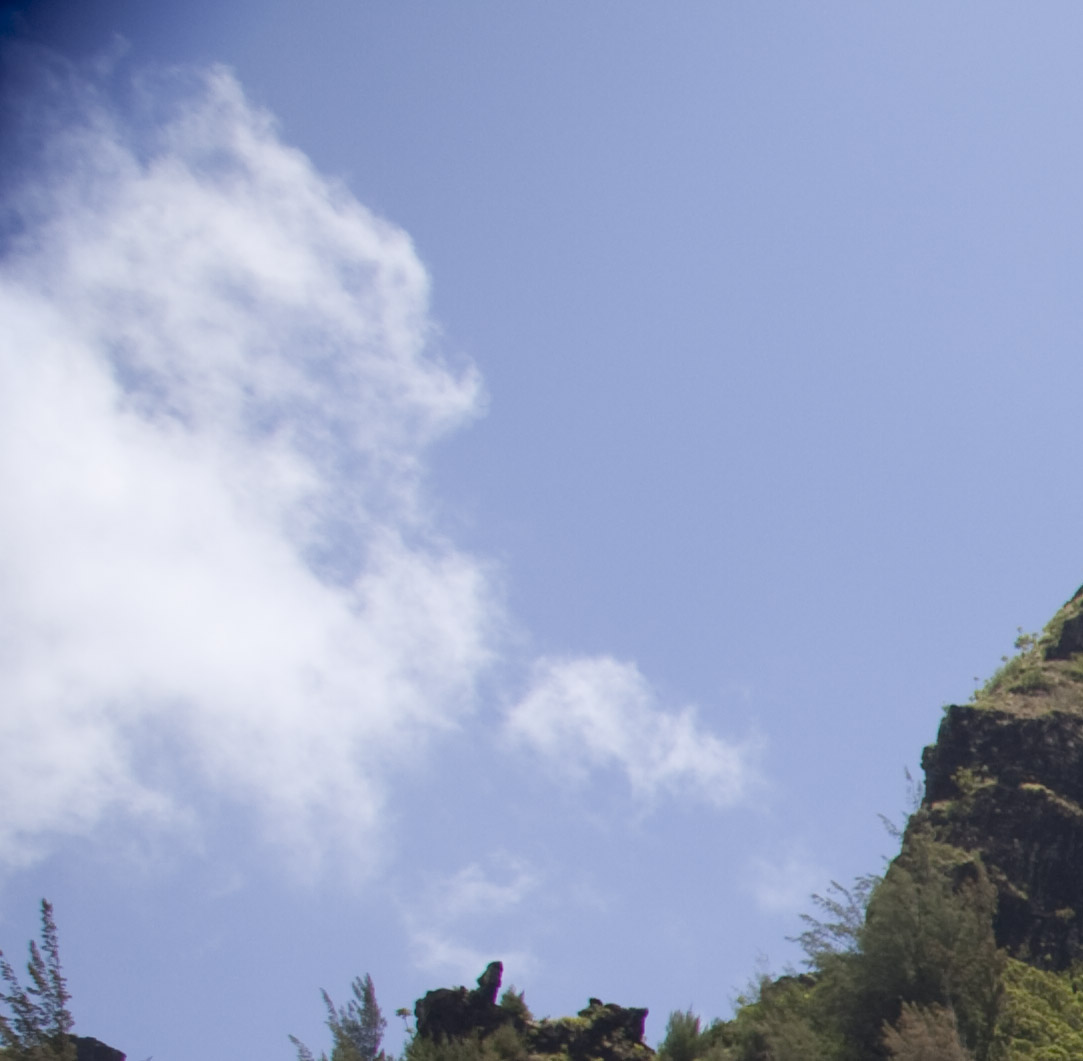
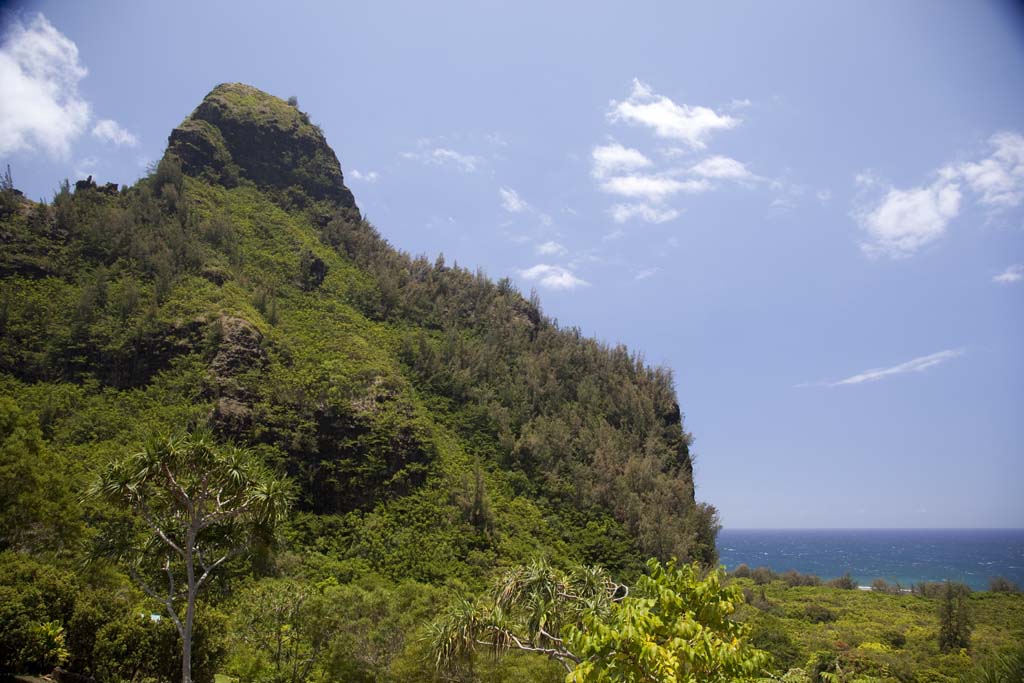
look at the finger of rock in the lower center
full frame picture with reduced resolution to give you an idea how much the above photo was cropped.
The vignetting seems to be due my stack of filters being too thick (UV filter plus polarizer).
Sweet setup man, I'm uber jealous. There were more than a handful of situations where I thought the HD video capabilities of the 5dII would come in handy. I see what you mean on CA, but most people wouldn't even notice that I imagine. I wouldn't mind getting into filters and taking landscapes a little more serious, people do some real cool things with a few screw on toys lol
-
Here are a few more, they were pretty far away so the quality isn't quite the best, but good enough for me
Ugly ass bighorn sheep

A moose chomping on some grass

Mr Coyote made eye contact with us but boogie'd out

-
Hey Tim ... The pics look incredible
 :thumbs:
I still want to do a Winter tour through Yellowstone on snomobile ... Do a two or three day trip. Then spend the rest of the time skiing at Big Sky ...
Maybe you could set up a SSS.com Yellowstone winter trip ... LOL ... Hint Hint .. Wink Wink ..
Wouldn't that kick ass
I've never been up there in the winter I bet it is a whole different beast then the summer ... if nothing else it should be less populated, man the tourists were something else this time. That would be a sweet scene, a ton of SS's twisting up a mountain and kicking back at the lake S(summer not winter). Someone make it happen hahaBeautiful pictures, Tim. Thanks for sharing!Thanks man
-
dang!, those are good pics. nice
Thanks
awsome pics I really would like to see in person one dayYou should make it happen, so much variety you can be in different worlds in less than an hour drive
Those are awesome pics! Thanks for sharing!Thanks
Very nice Tim, looks like a good time.
Yeah it was a blast.
 very cool man
Gracias
Looks like you had a blast! Tou guys took some very nice pictures. I figured you used some L series glass there. I love my 17-40 for landscape shots. Of all my L series glass my favorite overall is my 24-105.Again, VERY nice shots, thanks again
I would love to go back sometime and devote a day or two to photography but I don't see that happening, Lil O had a blast though, made it well worth the sacrafice. He actually got some really good shots with his little 1 megapixel FisherPrice camera...I should post them up tooo haha. I think the 24-105 would be an awesome walk around lens, seems to have a good following too. It seemed no matter what lens we took on the hike we always had the wrong one .. too short or too long, oh well ... it made it easy to just sit back and soak it all in and not worry about composition/exposure/etc
-
Nice photos Tim

Thanks man
-
One of the waterfalls (not pictured) we hiked 600 vertical feet in 3/8 of a mile. Every step we climbed 1 foot vertically! My wife is pregnant and I had to carry lil O due to the small path and stupid people. She didn't stop once, pretty impresive, although I wish she would have I could have used a break hahaha
**600 feet down and then 600 feet back up


Chevrolet Announces Pricing For 2009 Silverado Hybrid
in The Automotive Industry
Posted
You're gonna look funny hauling a trailer full of stuff behind the camaro.